Dosa Batter Consistency Calculator
Calculate the ideal water amount for crispy dosa batter based on your rice and urad dal measurements. Follow the article's recommendations for best results.
Perfect Batter Consistency
This is the water needed for thick cream-like consistency
Important Tip
Ever made dosa batter, poured it on the hot griddle, and ended up with a soft, chewy disc instead of that crisp, golden crunch you remember from street vendors? You’re not alone. Many home cooks follow the same recipe, ferment the batter overnight, and still end up with floppy dosas. The problem isn’t the recipe-it’s the details most people miss.
Too Much Water in the Batter
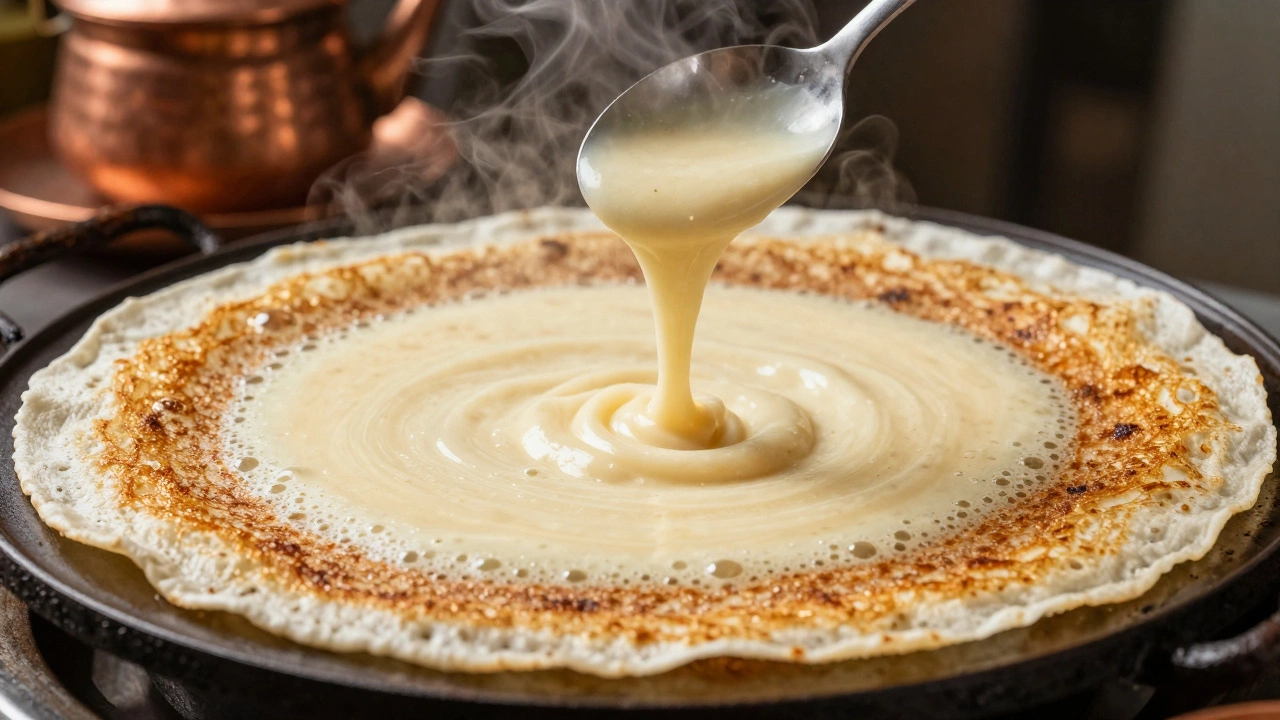
The most common mistake? Adding too much water. A runny batter doesn’t spread properly, and it doesn’t crisp up. The ideal consistency should be like thick cream-thick enough to hold its shape slightly when you lift the spoon, but still pourable. If it drips off the spoon in a thin stream, you’ve added too much water.
Try this: After grinding the rice and urad dal, let the batter rest for 10 minutes. Then check the thickness. If it’s too thin, don’t add more rice. Instead, add a tablespoon of rice flour at a time and mix gently. Rice flour helps absorb excess moisture without changing the flavor.
Not Enough Fermentation Time
Fermentation isn’t just about making the batter rise-it’s what gives dosa its crisp texture. The bacteria in the batter break down starches into sugars, which caramelize on the hot griddle and create that signature crunch.
If your kitchen is cool (below 25°C), fermentation can take 12 to 18 hours. In colder climates like Bristol, where winter temps often hover around 8°C, you might need up to 24 hours. Place the batter in a warm spot: near a radiator, inside an oven with the light on, or wrapped in a towel near a heater. You’ll know it’s ready when the batter has doubled in volume, smells slightly sour, and has tiny bubbles all over the surface.
The Wrong Rice-to-Dal Ratio
Most recipes say 3:1 rice to urad dal. That’s fine for soft idlis, but for crispy dosas, you need more rice. Try 4:1 or even 5:1. More rice means more starch, which crisps up better. Urad dal gives fluffiness and helps fermentation, but too much makes the dosa spongy instead of crisp.
Use parboiled rice (also called idli rice or ponni rice). It’s pre-cooked and has a higher starch content than raw rice. Regular long-grain rice won’t give you the same texture. If you only have regular rice, soak it for 6 hours instead of 4, then grind it finer.
Grinding the Batter Too Coarse
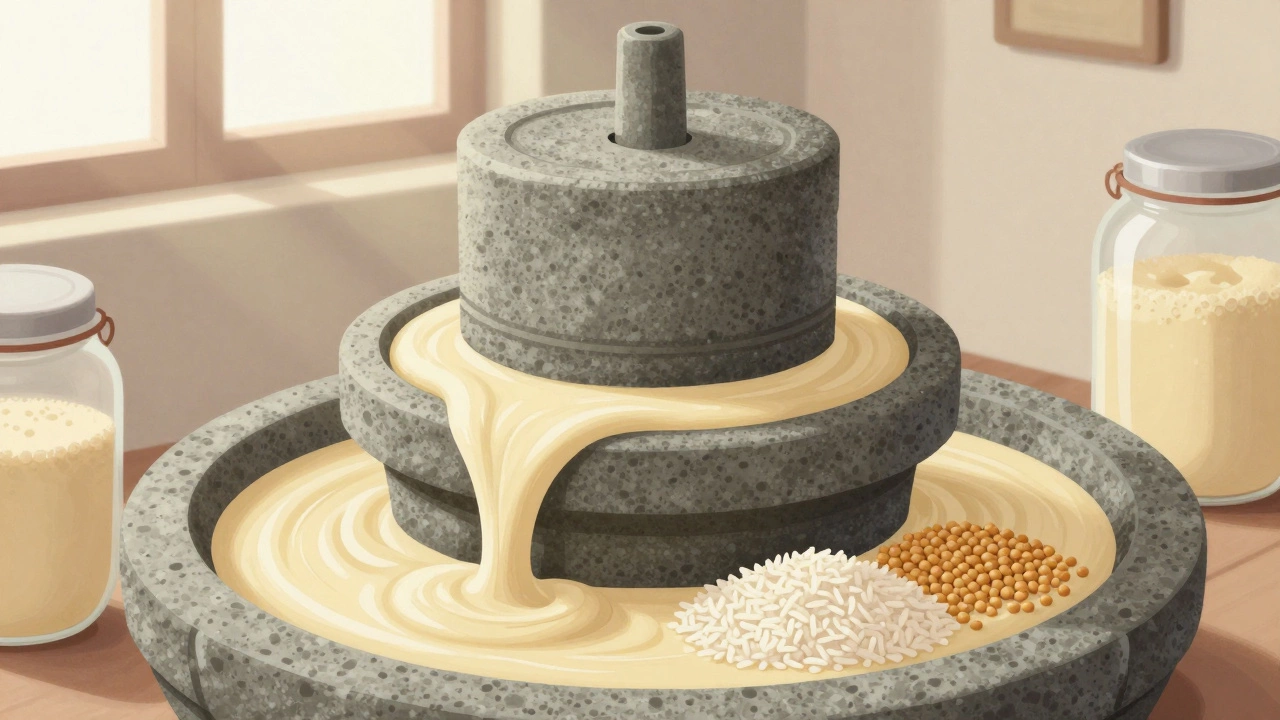
Grinding the batter too coarsely means the starch granules don’t fully release. That’s why your dosa turns out grainy and soft. The batter should be ultra-smooth-almost like a thin custard. Use a wet grinder if you can. If you’re using a blender, grind in small batches and add water drop by drop. Stop as soon as the batter is smooth. Over-blending heats the batter and kills the good bacteria needed for fermentation.
Pro tip: After grinding, let the batter rest for 30 minutes before fermenting. This lets the starches hydrate fully, which improves texture.
Using a Cold or Poorly Heated Griddle
You can have perfect batter, but if your tawa is cold, your dosa won’t crisp. The griddle needs to be hot enough to instantly sizzle the batter on contact. Test it by sprinkling a few drops of water-if they dance and evaporate quickly, you’re good.
Cast iron works best because it holds heat evenly. Non-stick pans can work, but they don’t get hot enough to create a true crust. Heat the griddle on medium-low for 10 minutes before you start. Then, when you pour the batter, swirl it fast and evenly. Don’t wait for bubbles to form before flipping-flip after 60 to 90 seconds, when the edges start lifting and the bottom turns golden.
Not Using Oil Properly
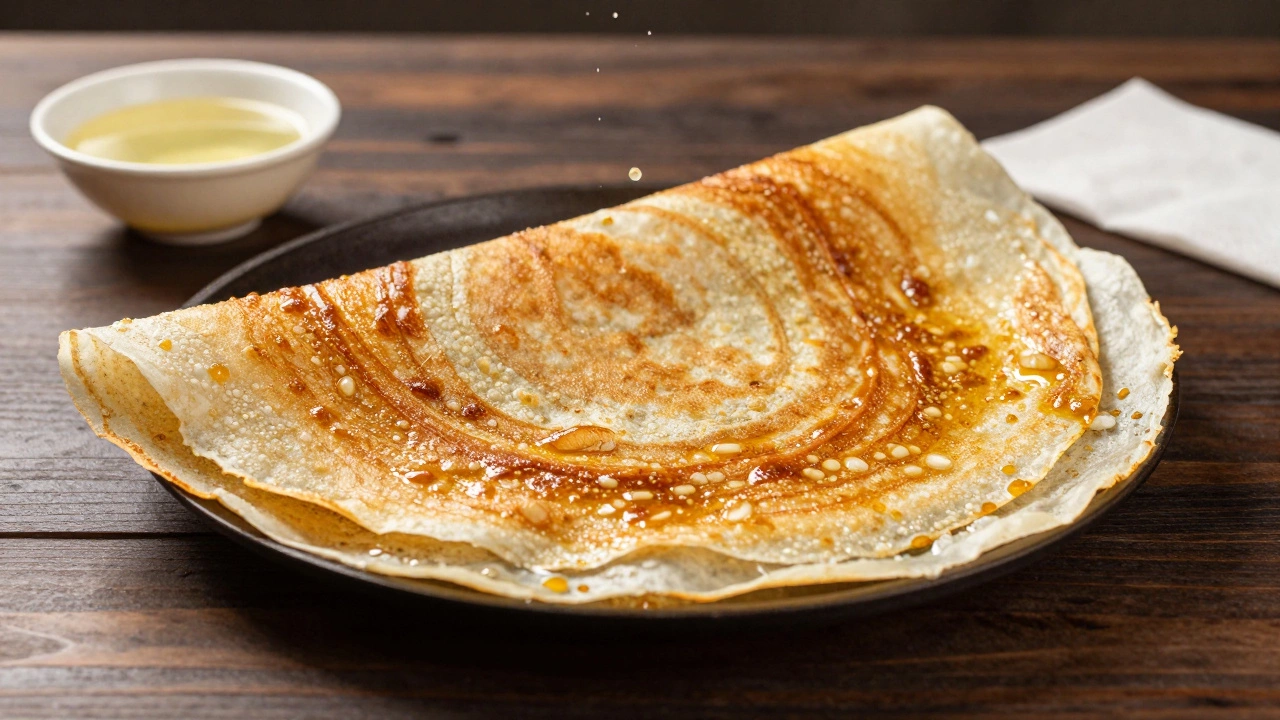
Oil is the secret weapon for crispiness. Pour a little oil around the edges of the dosa as you spread the batter. Don’t just drizzle it on top-use a paper towel to rub oil along the sides and the center. This helps conduct heat and creates a barrier that lets moisture escape, leaving a crisp crust.
Use coconut oil or sesame oil if you can. They have a higher smoke point and add subtle flavor. Avoid olive oil-it’s too delicate and burns easily. A small amount of ghee works wonders too.
Adding Baking Soda or Other Shortcuts
Some people add baking soda to make the batter rise faster. Don’t. It changes the pH, kills the natural fermentation process, and leaves a soapy aftertaste. The batter will puff up, but it won’t crisp. Real crispiness comes from fermentation, not chemicals.
Same goes for yeast. It works for bread, but not for dosa. It ferments too fast and doesn’t produce the right flavor profile. Stick to natural fermentation. It takes longer, but it’s the only way to get that authentic taste and texture.
Storage and Reuse of Leftover Batter
If you’ve made extra batter and stored it in the fridge, it might be too cold or too acidic. Cold batter won’t spread well. Let it sit at room temperature for 30 minutes before using. If it smells overly sour or has a layer of greyish liquid on top (called hooch), stir it well. Add a pinch of salt and a tablespoon of water to refresh it.
Leftover batter that’s more than 3 days old may have over-fermented. It’ll still cook, but the dosas will be brittle and bitter. Use it for adai or pesarattu instead-those are thicker, lentil-based dosas that handle over-fermented batter better.
Quick Fix Checklist for Crispy Dosa
- Use a 4:1 or 5:1 ratio of parboiled rice to urad dal
- Grind the batter until it’s silky smooth
- Ferment for 12-24 hours in a warm place
- Check consistency: thick cream, not runny
- Heat the griddle properly-sprinkle water to test
- Use oil around the edges, not just on top
- Flip after 60-90 seconds, before the top sets
- Avoid baking soda, yeast, or shortcuts
What If Your Dosa Still Isn’t Crispy?
Try this: After flipping the dosa, turn off the heat and let it sit on the hot griddle for another 30 seconds. The residual heat finishes crisping it up without burning. Or, after cooking, place the dosa on a wire rack for 2 minutes-this lets steam escape from the bottom so it doesn’t get soggy.
If you’re still struggling, test one variable at a time. Change only the rice type. Then only the fermentation time. Then only the heat. Isolate the issue instead of changing everything at once.
Street vendors in Chennai use stone grinders, soak rice for 8 hours, and ferment batter in clay pots. They don’t use fancy tools-they just know the details. You don’t need their setup. You just need to pay attention to the basics.