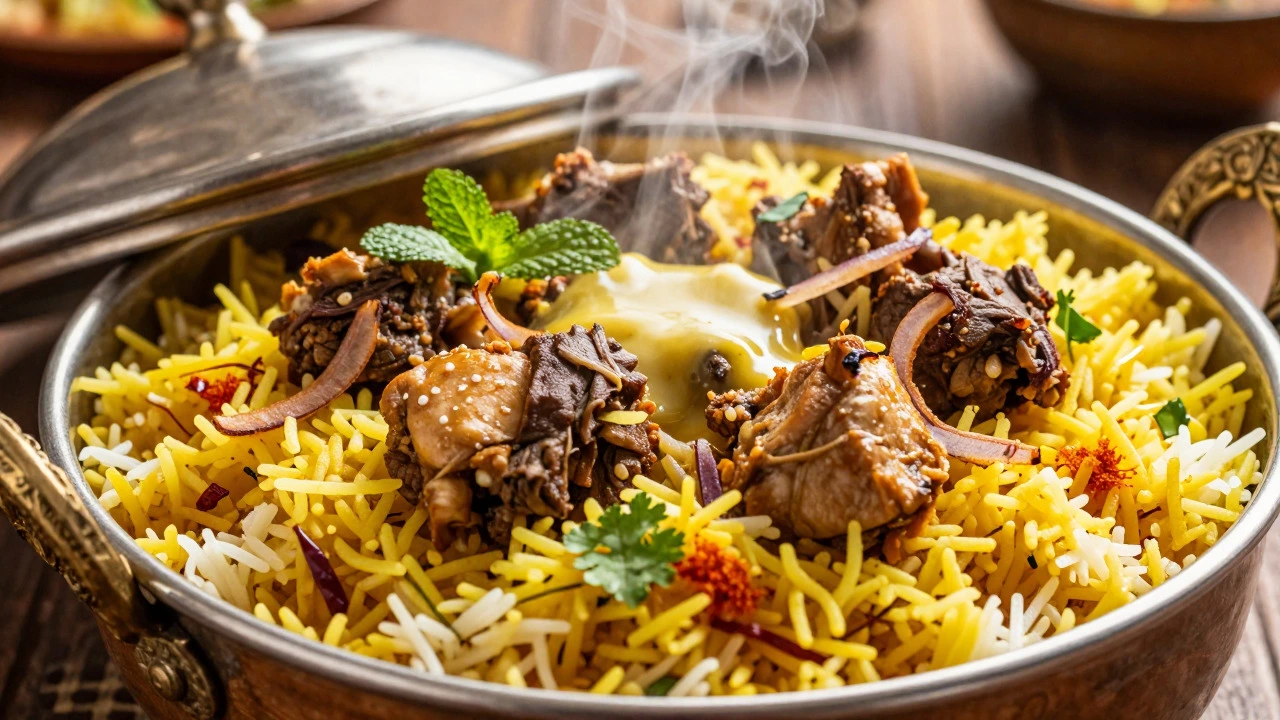
Biryani Masterclass: Step-by-Step Guide
Phase 1: Perfecting the Rice
The foundation of great biryani is aged Basmati rice. Follow these critical steps to ensure fluffy, separate grains.
Rice Preparation Checklist
Phase 2: Building Flavor Depth
Flavor comes from deep penetration, not surface sprinkling. Select your key components below.
Phase 3: The Art of Layering
Build your biryani structure correctly. Click the buttons in order to build the pot from bottom to top.
Phase 4: The Dum (Slow Cook)
Seal the pot tightly. Now, manage the heat and time carefully.
Dum Timer
Total recommended low heat cook time: 20-30 mins
Have you ever eaten a plate of biryani where the rice grains were mushy, the meat was dry, or the spices tasted like they were just sitting on top rather than soaking in? It happens to the best of us. We follow the recipe, we measure the ingredients, but something feels... off. The magic is missing.
The truth is, biryani isn't just a dish; it's a method. It’s not about throwing everything into a pot and hoping for the best. The secret lies in three specific pillars: the quality of your rice, the complexity of your marinade, and the patience required for the dum slow-cooking technique where food is sealed and cooked in its own steam.
It Starts with the Rice: No Shortcuts Here
If you want restaurant-quality biryani at home, you need to respect the rice. Not all long-grain rice is created equal. You need aged Basmati rice a fragrant, long-grain variety of rice native to the Indian subcontinent. Why aged? Fresh rice has higher moisture content, which means it breaks easily when cooked. Aged rice (usually stored for at least a year) has lower moisture, resulting in longer, firmer grains that stay separate even after hours of slow cooking.
Before you even think about boiling water, you must wash the rice. But don't just rinse it once. Wash it until the water runs clear. This removes excess starch, which is the enemy of fluffy biryani. If you skip this step, your rice will stick together like glue.
Here is the trick most people miss: salt the water heavily. Think of it as cooking pasta. The water should taste slightly salty, like seawater. This ensures the rice absorbs flavor from the inside out, so you aren't relying solely on the gravy for taste.
- Soak the rice for at least 30 minutes before cooking.
- Boil the rice only until it is 70% done. It should still have a slight bite in the center.
- Drain immediately and spread the rice on a large tray to cool. This stops the cooking process and prevents mushiness.
The Marinade: Where the Flavor Lives
A good biryani doesn't get its flavor from a packet of spice mix sprinkled on top. It comes from the meat (or vegetables) marinating for hours. The acid in yogurt tenderizes the protein, while the spices penetrate deep into the fibers.
You need to make your own biryani masala a blend of whole and ground spices including cardamom, cloves, cinnamon, cumin, and coriander. While store-bought powders are convenient, they lack the depth of freshly ground spices. Toast whole cardamom, cloves, and cinnamon sticks in a dry pan until fragrant, then grind them with dried ginger powder and red chili powder.
When marinating chicken or mutton, use thick Greek yogurt. Thin curd adds too much water, which dilutes the spices. Add raw garlic and ginger paste-not powdered versions. The raw pungency cooks down into a rich, savory base. Don't forget the lemon juice. The acidity cuts through the richness of the ghee and balances the heavy spices.
Pro Tip: Marinate your meat for at least 4 hours, preferably overnight. If you are short on time, let it sit for at least one hour. Rushing this step results in bland meat that tastes nothing like authentic biryani.
The Art of Layering: Building the Structure
This is where many home cooks fail. They dump the meat and rice into the same pot and stir. Stop right there. Biryani is built in layers, like a cake. Each layer serves a purpose.
Start with the bottom of a heavy-bottomed pot (like a Dutch oven or a traditional handi). Spread a thin layer of the cooked meat mixture. Then, add a layer of the parboiled rice. Sprinkle fried onions (birista), fresh mint leaves, cilantro, saffron soaked in warm milk, and a dollop of ghee over the rice. Repeat these layers until all ingredients are used, finishing with a final layer of rice on top.
Why finish with rice? Because the steam rises from the bottom. If you put meat on top, it will dry out. The rice acts as a lid, trapping the moisture and allowing the flavors to meld together during the dum phase.
| Layer Component | Purpose | Key Ingredient |
|---|---|---|
| Base Meat/Veg | Provides foundational flavor and moisture | Marinated Chicken/Mutton/Potatoes |
| Rice Layer | Acts as insulation and texture contrast | Parboiled Basmati Rice |
| Aromatics | Adds fragrance and visual appeal | Fried Onions, Mint, Cilantro |
| Fat Source | Richness and heat conduction | Ghee or Clarified Butter |
| Saffron Milk | Color and subtle floral notes | Saffron strands soaked in warm milk |
Dum Cooking: The Final Seal
Now comes the most critical step: the dum. This is the slow-cooking process that transforms separate ingredients into a unified dish. You need to seal the pot tightly. In traditional kitchens, dough is used to seal the rim of the lid. At home, you can use aluminum foil wrapped tightly around the lid, or a damp cloth under the lid to trap steam.
Cook the biryani on high heat for 5 minutes to build up pressure, then reduce the heat to the lowest possible setting. Let it cook undisturbed for 20-30 minutes. Do not open the lid! Every time you lift the lid, you release precious steam and drop the temperature. Patience is key here.
After the time is up, turn off the heat and let the biryani rest for another 10 minutes. This allows the grains to settle and absorb any remaining juices. When you finally open the lid, the aroma should hit you instantly-a mix of caramelized onions, saffron, and roasted spices.
Serving Suggestions and Common Mistakes
Serve your biryani hot, garnished with extra fried onions and a wedge of lemon. Pair it with raita a cooling yogurt-based side dish made with cucumber, onions, and spices to balance the heat. A simple salad of sliced tomatoes and onions also works well.
Avoid these common pitfalls:
- Overcooking the rice: Remember, it needs to be 70% done before layering.
- Using old spices: Stale cardamom or cloves won't impart any flavor.
- Skipping the fried onions: Birista adds sweetness and crunch that raw onions cannot provide.
- Stirring after serving: Use a flat spoon to scoop gently, preserving the layers.
Frequently Asked Questions
Can I make biryani without yogurt?
Yes, but the texture will change. Yogurt tenderizes meat and adds creaminess. If you are dairy-free, you can use coconut milk or a cashew paste, though the flavor profile will shift towards a richer, nuttier taste rather than the tangy brightness of traditional biryani.
How do I prevent my biryani rice from becoming sticky?
The key is washing the rice thoroughly to remove starch and not overcooking it during the initial boil. Also, ensure you drain the rice completely and spread it out to cool before layering. Adding a teaspoon of oil or ghee to the boiling water can also help keep grains separate.
Is it better to use bone-in or boneless meat for biryani?
Bone-in meat is traditionally preferred because bones release collagen and gelatin during the slow cooking process, adding depth and richness to the gravy. Boneless meat cooks faster but can become dry if not monitored closely. If using boneless, cut larger chunks to retain moisture.
Can I prepare biryani ahead of time?
You can prep the components ahead of time. Marinate the meat overnight, soak the rice, and fry the onions. However, the actual assembly and dum cooking should be done just before serving. Reheated biryani often loses its distinct layer structure and can become mushy.
What is the difference between Hyderabadi and Lucknowi biryani?
Hyderabadi biryani is typically spicier, uses more chilies, and often includes potatoes and boiled eggs. The rice is usually cooked separately and layered with the meat (kacchi style). Lucknowi biryani is milder, focuses on aromatic spices like rose water and kewra, and often involves cooking the rice and meat together (pakki style) with less emphasis on heat.