Paneer Yield Calculator
Sour Milk Safety Check
Safety Alert
Do not proceed - milk is too sour or spoiled. Discard immediately.
Your Paneer Recipe
Recommended Action
Gently stir for 30 seconds and strain with cheesecloth.
Storage Tip
Store in refrigerated whey for up to 3-4 days.
Ever wondered if you can rescue that carton of milk that’s gone a little sour? paneer lovers often face that dilemma, especially when the milk is past its prime but not yet spoiled beyond use. The good news is you can turn "broken" milk into fresh‑making paneer-provided you follow a few safety steps and understand the chemistry behind curdling.
What Is "Broken" Milk?
When we say milk is "broken" we usually mean it has started to sour, developing a thin film on top and a faint tangy smell. It’s still safe to consume if the pH is above 4.6 and there are no off‑flavors of rot. In dairy terms, this is partially coagulated milk where the natural proteins (casein) have begun to separate but haven’t formed a hard curd yet.
Broken milk is milk that has started to sour, showing early signs of curdling but not yet spoiled, typically with a pH between 5.0 and 6.0. It’s a perfect candidate for a controlled curdling process that yields paneer.
Why Paneer Works with Slightly Sour Milk
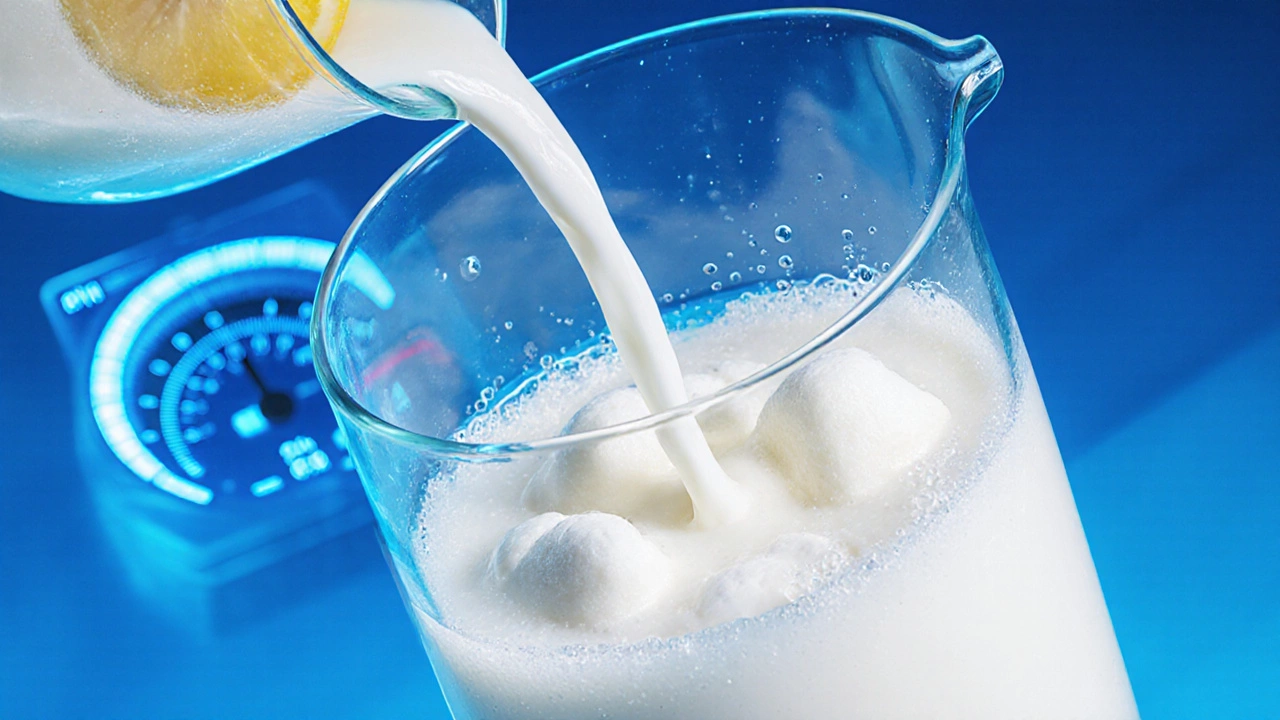
Paneer is a fresh cheese made by acid‑induced coagulation of milk proteins. Whether you add lemon juice, vinegar, or rely on the milk’s own acidity, the goal is to drop the pH to around 4.6, where casein micelles aggregate and form a solid mass. When the milk is already a bit sour, you need less external acid, which means a milder flavor and a softer texture.
Essential Tools and Ingredients
- Stainless steel pot - heats evenly without reacting with acid.
- Thermometer - measures milk temperature accurately.
- Cheesecloth - strains curd from whey.
- Lemon juice - natural acidic agent (you can also use vinegar or renet).
- Acidic agent - any food‑grade acid that brings pH down to ~4.6.
Step‑by‑Step: Turning Broken Milk into Paneer
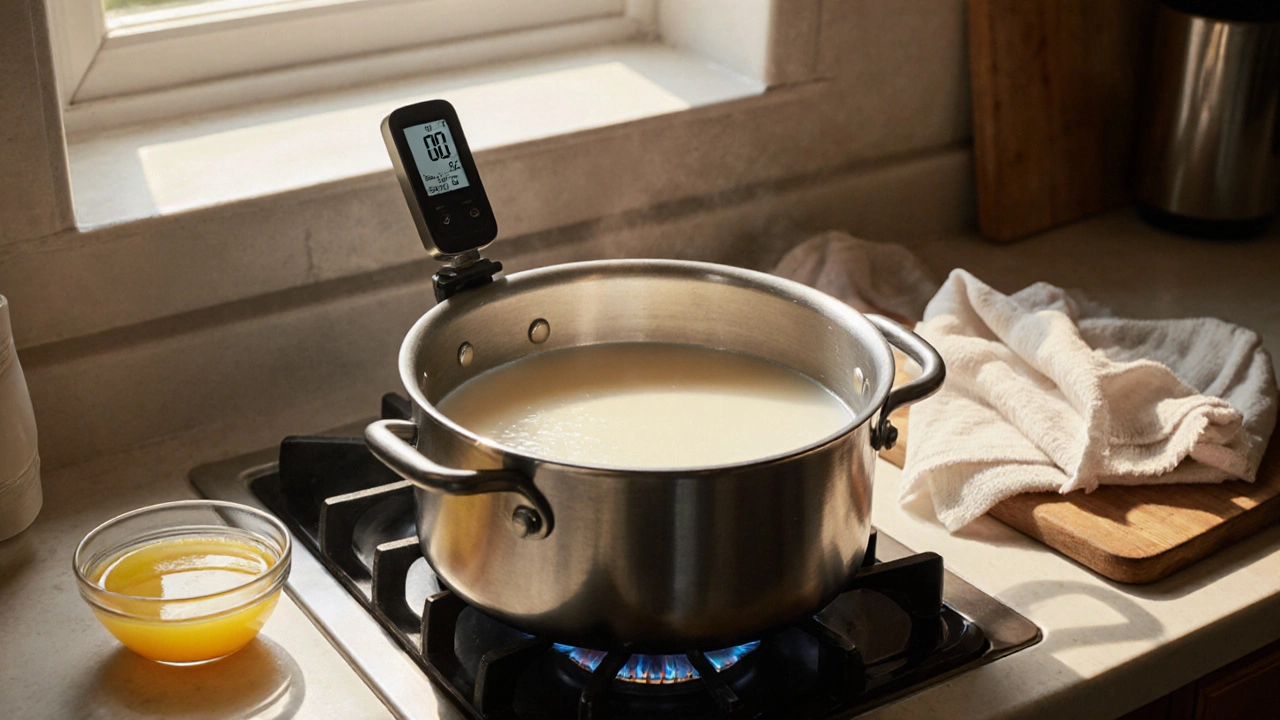
- Pour the broken milk into the stainless steel pot. Do not add any water; use the milk as is.
- Heat gently over medium flame. Stir occasionally to prevent scorching. When the temperature reaches 80 °C (176 °F), turn off the heat. Use the thermometer to confirm.
- Allow the milk to cool slightly to 70 °C (158 °F). This is the optimal temperature range for acid‑induced coagulation without cooking the curd too hard.
- Slowly drizzle lemon juice (about 2‑3 tablespoons per litre of milk). Because the milk is already sour, start with a smaller amount and taste the whey after each addition. You’ll notice the milk thickening within a minute.
- Stir gently for 30 seconds. The curd will separate completely, forming white chunks floating in translucent whey.
- Line a colander with cheesecloth and place it over a large bowl. Carefully pour the curd‑whey mixture into the cloth.
- Gather the corners of the cheesecloth and twist to squeeze out excess whey. For firmer paneer, press the wrapped curd with a heavy plate for 15‑20 minutes.
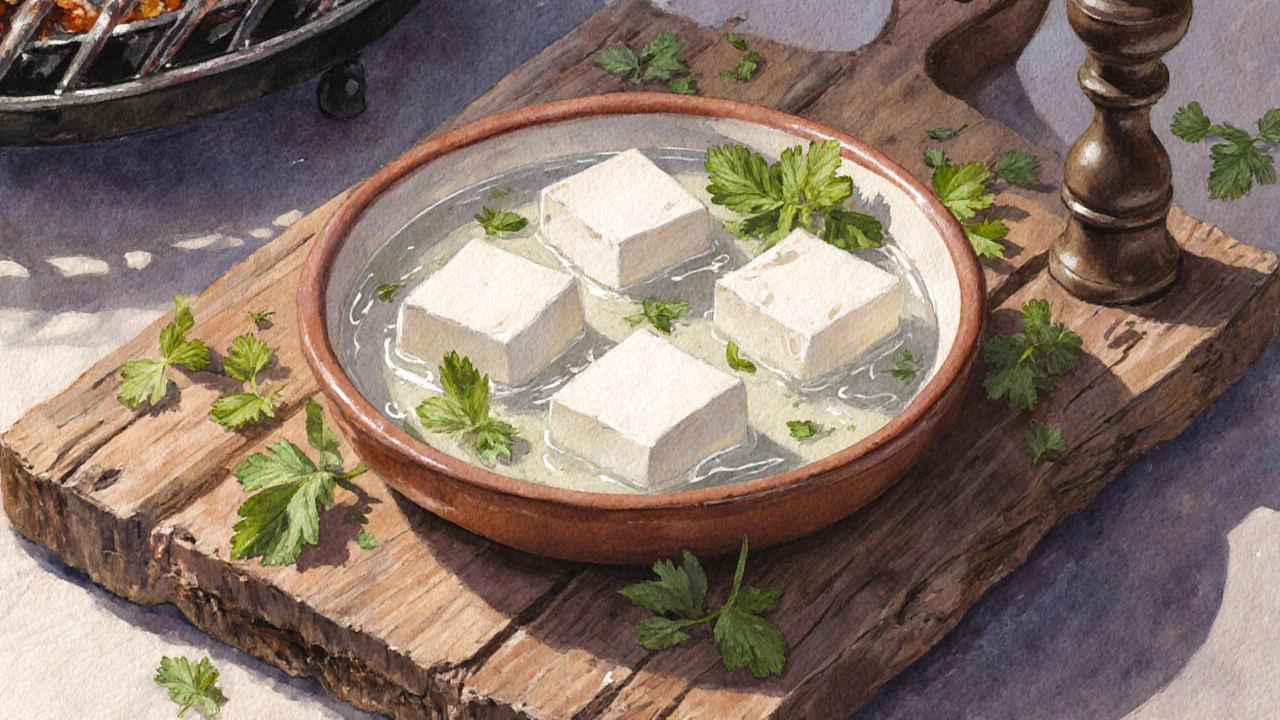
- Unwrap the softened block. Cut into cubes or slabs and store in a container with a little cold whey to keep it moist. Use within 3‑4 days, refrigerated.
Safety Checks: Is the Milk Still Good?
Before you start, run a quick sniff test. If the milk smells like rotten cheese or has visible mold, discard it. A safe broken milk will have a faint sourness but no foul odor. Additionally, check the pH with strips if you have them; values above 4.6 are safe for cheese making.
Common Mistakes and How to Avoid Them
- Overheating: Boiling the milk can toughen the proteins, making the paneer rubbery. Keep temperature below 90 °C.
- Adding too much acid too quickly: The curd will form too fast and become grainy. Add acid gradually and watch the texture.
- Skipping the cooling step: Adding acid to scorching milk creates a bitter flavor.
- Using non‑food‑grade containers: Plastics can leach chemicals when heated; always use stainless steel or enamel.
Comparing Acid Sources
| Acid | Typical amount (per litre) | Flavor impact | Convenience |
|---|---|---|---|
| Lemon juice | 2‑3 Tbsp | Bright, citrusy | High |
| White vinegar | 2‑3 Tbsp | Slightly sharp | High |
| Renet (liquid) | 0.5 mL | Neutral | Medium (needs measurement) |
| Natural sour milk | Depends on initial pH | Mildly tangy | Very high (no extra acid) |
Storing and Using Your Homemade Paneer
Paneer keeps best in the refrigerator, submerged in a shallow layer of cold whey or water. Change the water daily to maintain freshness. For longer storage, cut the block into cubes, wrap tightly in cling film, and freeze for up to two months. Thaw in the fridge before using in curries, grilled skewers, or salads.
FAQ - Your Paneer Questions Answered
Can I use ultra‑pasteurized milk for this method?
Yes, but ultra‑pasteurized milk has denatured proteins, so the curd may be softer. Heat gently and add a bit more acid to achieve firm paneer.
What if the milk smells rancid?
Discard it. Rancid odor indicates bacterial breakdown that can’t be fixed by acidification and may cause food‑borne illness.
Do I need a cheesecloth, or can I use a kitchen towel?
A clean, loosely‑woven kitchen towel works, but cheesecloth drains faster and leaves fewer fibers in the paneer.
How long can I keep paneer made from broken milk?
Refrigerated in whey for 3‑4 days. Freeze for up to 2 months if you need longer storage.
Can I add herbs or spices to the milk before curdling?
Absolutely. Adding a pinch of cumin, coriander, or dried fenugreek before heating infuses gentle flavor into the paneer.
Quick Takeaways
- Broken milk is safe for paneer if it’s only mildly sour and odorless.
- Heat to 80 °C, cool to 70 °C, then add a modest amount of lemon juice or another acidic agent.
- Use a stainless pot, thermometer, and cheesecloth for best results.
- Press curd for 15‑20 minutes for firm blocks; store in whey to stay moist.
- Never use milk that smells rotten or shows mold growth.