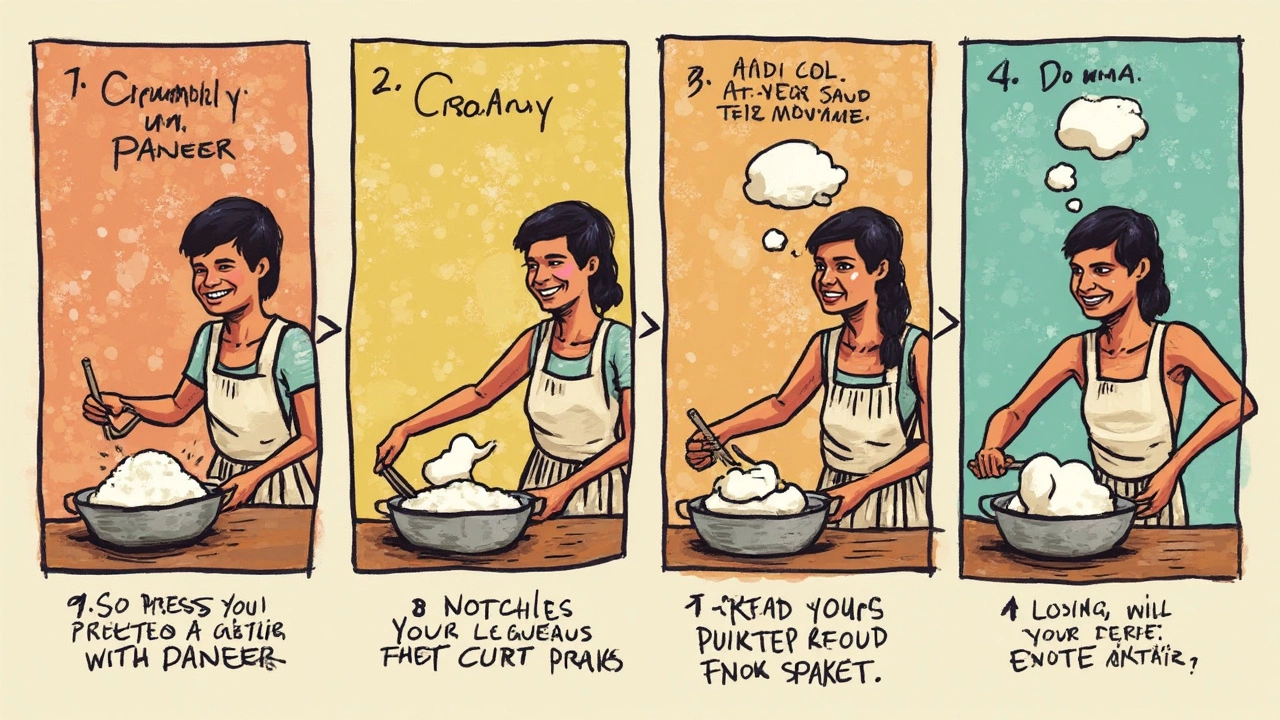
Ever made paneer at home only to find it crumbling instead of holding together as you expected? You're definitely not alone in this little kitchen conundrum. Homemade paneer can be a bit finicky, but understanding what's going wrong can make all the difference.
One common reason for crumbly paneer is the type of milk you're using. Believe it or not, the fat content in that milk carton you grab matters more than you might think. Whole milk is your best friend here, giving you a creamier, more cohesive cheese. Skimp on the fat and you might end up with that crumbly texture you're trying to fix.
Temperature can trip you up too. Heating the milk too quickly or not keeping it at the right level when you add your acid can mess with the curds. Slow and steady wins the race, folks. Think of it like making a good cup of tea – rushing usually doesn't help.
So, what's the fix? In the coming sections, I'll dive into all the details you need to banish that crumbly paneer for good. From selecting the right kind of milk to nailing the technique, we've got the tips that will have you serving up perfect paneer dishes in no time.
- Understanding the Basics of Paneer
- Common Reasons for Crumbly Paneer
- Milk Matters: Choosing the Right Kind
- Step-by-Step Guide to Fixing Texture
- Helpful Tips for Perfect Paneer Every Time
Understanding the Basics of Paneer
Paneer is an essential ingredient in many dishes and is quite the superstar in Indian cuisine. Despite being a simple cheese made by curdling milk with an acid, there’s a bit more to it than meets the eye. Knowing the basics can help you nail that perfect texture, avoiding the pesky issue of it becoming crumbly.
First things first, let’s chat about the milk. Whole milk is the hero when it comes to achieving that ideal creamy consistency. The high-fat content ensures the paneer stays together well. If you use low-fat milk, you might end up with crumbly paneer, which isn’t what we're looking for.
Now, what about the acid? Lemon juice and vinegar are common choices, and each brings a slightly different taste and acidity level. But whichever you pick, adding it slowly while stirring gently is key. This way, the milk has time to curdle without clumping badly.
Temperature Control
Temperature plays a crucial role too. You’ll want the milk to be hot but not boiling. Bringing it to a gentle simmer before adding your acid helps form the ideal curds. Too fast, and you might end up with a mess; too slow, and you won’t see results. It’s a real Goldilocks situation here.
The Process of Making Paneer
- Heat 1 liter of whole milk until it’s just about to boil.
- Turn off the heat and add 2-3 tablespoons of lemon juice or vinegar.
- Stir slowly until curds separate from the whey.
- Line a colander with cheesecloth and pour the curdled mixture through.
- Rinse the curds under cold water to remove the acidic taste.
- Bring the corners of the cloth together and squeeze out excess water.
- Press the cloth-wrapped paneer under a heavy weight for about 30 minutes.
The end product should be a block of smooth, non-crumbly paneer ready to add to your favorite dishes. It's really all about being patient with the process and making sure each step is done just right.
Common Reasons for Crumbly Paneer
So, you've ended up with crumbly paneer and you're scratching your head, wondering where it all went wrong. Let's break down some usual suspects that can lead to this culinary glitch.
Type of Milk Used
The kind of milk you pick can make or break your homemade paneer. Full-fat whole milk is ideal because of its higher fat content, which helps bind the curds nicely. If you're opting for low-fat or skim milk, you might not get that dreamy, cohesive texture you're after.
The Acid Factor
Using lemon juice, vinegar, or citric acid wrongly can throw off your paneer game. Adding too much can create harsh conditions for the proteins to solidify, making the outcome more crumbly. Plus, pouring in the acid all at once instead of gradually stirring it in can shock the milk proteins, leading to uneven curd formation.
Temperature and Cooking Time
If you're rushing the process by cranking up the heat, the milk proteins won't have time to arrange themselves properly, resulting in crumbly curds. It’s all about patience – keep that heat moderate. Also, make sure not to overcook the curds once they form. They only need a few minutes to solidify after the acid is added.
Curd Handling
Being too rough while mixing or pressing the curds can also lead to crumbles. Handle the curds gently, stirring them softly until the whey separates completely. After you've drained and gathered it in a muslin cloth, avoid pressing it too tightly. Give your paneer some breathing room to settle and firm up naturally.
Storage Issues
If your homemade paneer feels crumbly later, it might be a storage problem. Keeping it uncovered or allowing it to sit at room temperature for too long can dry it out. Make sure to wrap it tightly and pop it in the fridge if you're not using it immediately.
So, there you have it! These are a few reasons why your homemade joy might end in crumbles. Once you get a handle on these, you’ll be closer to that soft, smooth paneer you’ve been dreaming of making.

Milk Matters: Choosing the Right Kind
If you're aiming for that smooth, creamy texture in your homemade paneer, the kind of milk you choose is crucial. Not all milk is created equal when it comes to cheese making. The fat content, pasteurization method, and even the freshness of the milk can make a huge difference to how your paneer turns out.
Whole Milk vs. Skimmed Milk
Whole milk is your best bet for making paneer. It contains all the cream and fats needed to hold the curds together. Skimmed milk, on the other hand, lacks this richness, resulting in a crumbly paneer that's far from ideal.
Pasteurized vs. Unpasteurized
While pasteurized milk is commonly available, too much heat can alter the proteins, affecting how the curds form. If you have access to it, opting for raw or non-homogenized milk can offer better results. It helps the curds knit together more neatly, leading to that smooth finish we all crave.
Freshness Counts
The fresher the milk, the better your paneer will be. Milk that's been hanging around for a while can have altered acidity, impacting how your curds form. If you're stuck with slightly older milk, make sure to compensate by adjusting the amount of acidic agent you use.
A Handy Tip
If you find yourself often making paneer, consider experimenting with different brands or sources of milk to find the one that consistently gives you the best texture. Remember, perfecting paneer takes a bit of trial and error, but choosing the right milk is a step in the right direction.
| Type of Milk | Fat Content % | Paneer Texture |
|---|---|---|
| Whole Milk | 3.25% | Smooth and Firm |
| 2% Milk | 2% | Slightly Firm |
| Skimmed Milk | 0% | Crumbly |
In a nutshell, milk selection is key. By understanding what makes one kind better suited for paneer making, you're already on your way to kitchen success.
Step-by-Step Guide to Fixing Texture
If your homemade paneer turns out crumbly, don’t worry—I'm here to help! Let's walk through how you can fix this issue and get that smooth paneer you're dreaming of.
Step 1: Choose the Right Milk
The first thing is to ensure you're using whole milk, as it typically has the higher fat content needed for firm curds. Fat content is what helps hold the structure together. Skimmed or low-fat milk just won’t cut it.
Step 2: Slow Heating
Heat your milk slowly. Aim for a gentle simmer rather than a rapid boil. This helps the milk heat evenly and gives you more control over the process. Grab a thermometer if you want to be precise—around 85°C is what you're aiming for before adding your acid.
Step 3: Use the Right Acid
Lemon juice or white vinegar works well to curdle the milk. Once your milk is at the right temperature, add the acid slowly, and keep stirring gently. You'll see those curds forming pretty quickly, and it’s important not to stop stirring immediately.
Step 4: Straining with Care
Once your curds and whey separate, strain through a muslin cloth. Drain gently by hanging it for up to 30 minutes, but do not press down hard. Pressing can squeeze out too much moisture, leading to a dry texture.
Step 5: Kneading the Paneer
After straining, knead the paneer. Use the palm of your hand to press and bring the curds together. This step helps enhance the texture, making the paneer smooth and pliable. Knead for about 2 minutes until it’s not crumbling anymore.
Final Touch: Storing Properly
When storing, keep your paneer in water in the fridge to retain moisture. Change the water daily if you plan to store it for a few days.
Remember, mastering the art of fixing your paneer means practice and a bit of patience. But once you get it right, it’s going to be a game-changer for all your paneer dishes.

Helpful Tips for Perfect Paneer Every Time
Making homemade paneer doesn't have to be a wild adventure of trial and error. Here are some down-to-earth tips to get that smooth, luscious texture you crave.
Use the Right Milk
Full-fat is where it's at. Whole milk is ideal for making paneer. Stay away from ultra-pasteurized varieties, as they don't separate well into curds and whey.
Correct Acid and Timing
You can use lemon juice, vinegar, or even yogurt to curdle the milk, but don't rush the process. Add the acid gently while stirring and take your time. Watch for the yellowish whey separating — that's your cue!
Gentle Heat
Keep that heat on a low to medium level. Too much heat can ruin the curd structure. You're looking for a gentle simmer, not a rolling boil.
Drain and Press Properly
Once curds have formed, pour them into a cheesecloth-lined colander. Rinse with cold water to get rid of the acidic taste, and squeeze gently to remove excess whey. Then, press under a weight for at least 15-20 minutes.
| Common Acid Choices | Effect on Paneer |
|---|---|
| Lemon Juice | Slightly crumbly, fresh taste |
| Vinegar | Firm texture, slightly sharper |
| Yogurt | Smooth, extra creamy |
Storage Matters
Planning to keep it for later? Remember to store your paneer in water in the fridge. This keeps it moist and stops it from drying out.
With these tips in your arsenal, you should be on your way to crack-free paneer cooking adventures. Experiment a little at a time, and pretty soon, you'll be making perfect paneer with your eyes closed!
