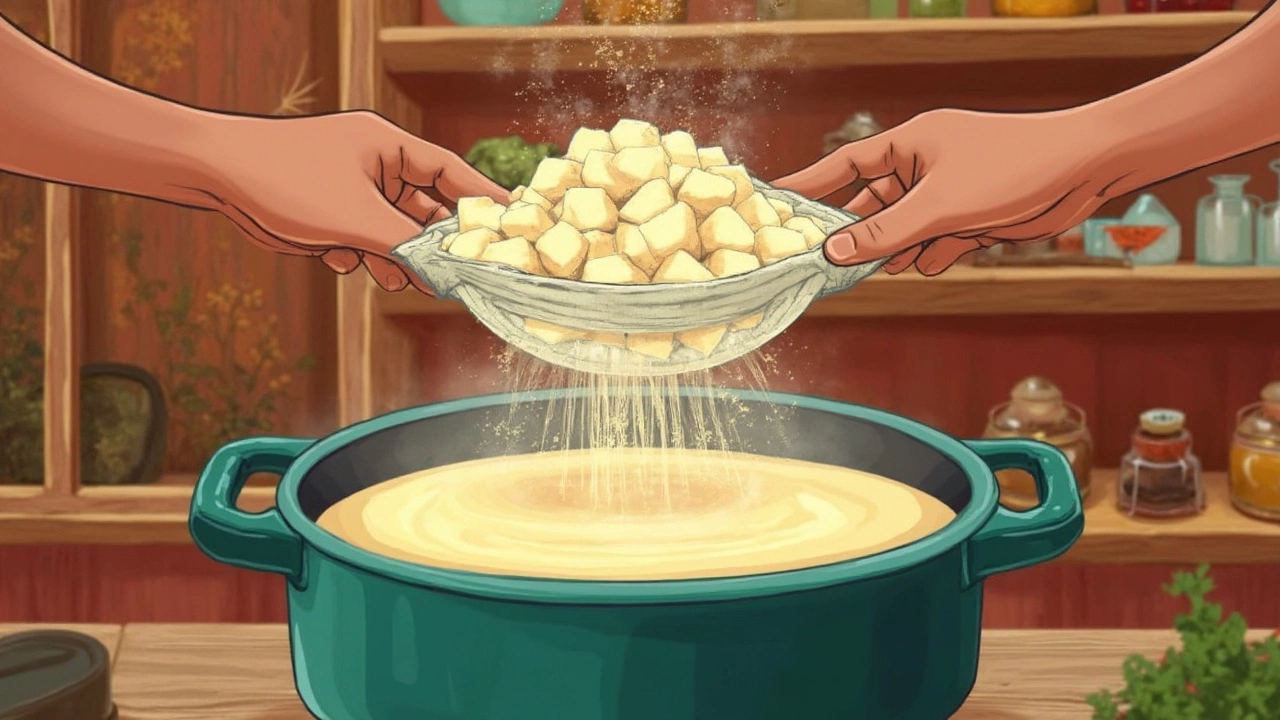
Trying to make paneer at home? It's not as tough as it sounds, but there are some common missteps you’ll want to steer clear of, or else you’ll end up with a cheese that’s more 'meh' than marvelous. One biggie? The milk you use. Skim milk might save a few calories, but it's a no-go for sturdy, rich paneer. Full-fat milk is your best friend here, giving your paneer that creamy texture everyone craves.
Then, there's the big question of curdling. Lemon juice is a popular choice, but don’t pour it all in one go. Gradually mixing it while stirring ensures those milk solids separate nicely without turning into a clumpy mess. And be patient! Hastily turning off the heat can leave you with fibers that don't want to stick together.
Choosing the Right Milk
When it comes to making homemade paneer, your choice of milk is the make-or-break factor. For starters, ditch the skim milk. Why? Because paneer thrives on fat—it's what provides that creamy, rich texture we all love. So, the best bet is full-fat or whole milk. It's got the perfect balance that helps form a soft yet firm cheese.
Now, pasteurized vs. raw milk? While raw milk enthusiasts might swear by it, pasteurized milk is more consistent and safer for most people. But hold your horses—stay clear of ultra-pasteurized milk. The high heat processing alters its proteins, making it tough to form curds, leaving you frustrated with a pot of lukewarm milk.
If you're after something really creamy, fresh cow or buffalo milk is like striking gold. They pack more fat and make the paneer super lush. But of course, not everyone has easy access to this, so whole milk from the grocery store is usually just fine.
| Milk Type | Fat Content | Paneer Quality |
|---|---|---|
| Whole Milk | 3.25% | Rich and Creamy |
| Raw Cow's Milk | 3.4% - 4.2% | Exceptional Quality |
| Buffalo Milk | 4.5% - 6%+ | Extra Creamy |
Keep in mind, if you're lactose intolerant or just exploring plant-based options, making paneer with nut milk won't produce the same results. So, if you're aiming for traditional paneer, it's best to stick with dairy.
Curdling Techniques
Getting that perfect homemade paneer hinges a lot on how you curdle the milk. It’s like the make-or-break step. Sure, you can use lemon juice, vinegar, or even citric acid—each gives slightly different results, but using fresh lemon juice is the most recommended trick in the book for that perfect balance.
You want to start by slowly bringing your milk to a boil. Keep stirring so it doesn’t scorch at the bottom. Once it's almost there, lower the heat. Now, don’t just dump in the lemon juice or vinegar in one go! The key to successful curdling is to add it gradually. This way, the milk proteins can bind together slowly and form neat curds instead of creating a cloudy soup.
An ideal way to do this is:
- Add a tablespoon of your chosen acid (lemon juice, preferably) to the simmering milk.
- Stir gently as the milk starts to split into curds and whey.
- If needed, add a bit more juice or vinegar until the whey looks clear and the curds are distinctly separate.
- Once clearly separated, turn off the heat and let it sit for five to ten minutes.
This waiting period after you turn off the heat allows the curds to firm up a bit, making them easier to handle. Ignore this, and you might end up with a mushy texture. And hey, here's a fun fact: Did you know that approximately 80% of Indian households prefer homemade paneer to store-bought versions for its fresh taste?
By following these steps, your curds should be ready to go, and you're well on your way to making that dreamy, soft homemade paneer!

Pressing and Shaping
Alright, you’ve got your paneer curdled and ready, but now comes the part where you actually need to shape it into that lovely block we're all familiar with. First off, transferring the curds from the pot to a cheesecloth-lined colander is key. This helps drain excess whey. Be gentle, though, because you don't want to break what's already come together!
Once you've safely enclosed the curds in the cheesecloth, it’s squeezing time! But, don't go Hulk on it. Press gently at first to get rid of whey without flattening all those lovely curds into a crumbly mess.
Next, you need to shape it. Think of making a neat little package. Fold the cloth over the curds and place a flat plate or a board on top. This is where the pressing magic happens. Weights like a heavy book or a pan filled with water can help do the trick. Typically, pressing for about 15-30 minutes yields a firmer texture, perfect for all sorts of dishes. Longer pressing, about an hour, is great if you want a sturdier paneer for grilling.
Ever wondered how much pressure works best? Here's a simple guide:
| Weight | Pressing Duration |
|---|---|
| 1 kg (e.g., a medium saucepan) | 30 minutes |
| 2 kg (e.g., a heavy iron skillet) | 1 hour |
And there you go, your homemade paneer block is now ready! Once pressed, it's good to sit in the fridge for about an hour to firm up just right. After that, you can cube it, slice it, or cook it whichever way you like!
Storing and Using Paneer
So, you’ve nailed making paneer. Now what? The journey doesn’t end here, as how you store and use that fresh paneer is equally crucial. First off, refrigeration is your go-to. Pop your paneer in an airtight container or wrap it tight in cling film to keep it fresh. It can hang out in the fridge for about a week before it starts losing that magic.
If freezing is your plan, a little prep goes a long way. Cut your paneer into cubes before freezing. This way, you can grab only what you need next time you're cooking. Just make sure to thaw it out properly, maybe leaving it in the fridge overnight, so it regains its texture.
Pankaj Bhadouria, a popular Indian chef once said, "Fresh paneer is a blank canvas. You can marinate it, fry it, or even grill it without losing its firm texture."
When it comes to using your paneer, the possibilities are endless! From classic Indian dishes like Paneer Butter Masala to paneer-topped salads, it’s all about creativity. Got leftovers? Throw them into a stir-fry or add them to a sandwich for a quick protein boost. Remember, the key is to avoid overcooking, or you’ll end up with something more like rubber than cheese.
- Keep paneer submerged in water while storing in the fridge to maintain moisture.
- Try grilled paneer for a smoky flavor; it’s a game-changer for wraps.
- Pair with spices like turmeric, cumin, and coriander for an authentic Indian taste.
Psst, here’s a fun fact: A study found that 70% of folks who prefer homemade paneer use it within two days for the best taste and texture. So maybe think about planning meals ahead to enjoy your cheesy treasure at its peak!
